REGISTERED USERS ONLY
Do not follow these instructions if you're upgrading from
the Studio Organizer 6.
Click here for Upgrading from Version 6 instructions.
$50 Upgrade
SYSTEM REQUIREMENTSWindows 10
Windows 8
Windows 7 (SP1)
Mac OS X 10.9 or higher
4+ Gigs RAM
500+ MB available on Hard Drive
Quicktime 7 or higher
i5 or faster processor recommended
Windows 10
Windows 8
Windows 7 (SP1)
Mac OS X 10.9 or higher
4+ Gigs RAM
500+ MB available on Hard Drive
Quicktime 7 or higher
i5 or faster processor recommended
IMPORTANT!
These instructions include a download link, password information and instructions for creating your Registration Code. Please read these instructions from start to finish.
You can have both Version 5 and Version 7 installed on the same computer. The files are unique, and no data is transferred until you follow the steps below. Feel free to experiment with Version 7, but continue to use Version 5 for real world use. When you're ready to go live with Version 7 you can transfer your data again by repeating these instructions.
You'll need to know how to copy and paste files, create a folder, and move a folder in order to complete these instructions. If you're not comfortable performing these steps, please ask a knowledgeable computer person to sit with you and provide hands on training.
Your Studio Organizer 5 files will remain 100% intact and unchanged when you follow these instructions.
WHAT'S NOT TRANSFERRED?
Please print any Student ID cards, bar code labels or address labels you have waiting to be printed in Version 5. Due to significant changes, these items are not transferred to the new version.
ATTENDANCE RECORDING
The Studio Organizer 7 runs best of i5 or higher processors, so older computers with a lot of attendance data will take longer to process checkins using the automated attendance recording Wizards. The solution is to export old data to an archive (that can be restored at any time), then delete the old attendance records. Use the Export Attendance Wizard on the Wizards -> Attendance screen to do this. Or, you can upgrade your computer to an i5 or faster processor.
If you would like to keep all of your attendance data, you can pre-load the check in greeting. Displaying the attendance greeting is where the biggest slow down occurs. Please read “Pre Load Attendance Greetings” in the built in Help under the Attendance category.
If you have a previous version of the Studio Organizer 7 installed on your computer, please DELETE it before continuing.
This upgrade should be installed on your server only. After it's complete, follow the Networking Instructions to configure your network and install the necessary software on your guest computers. ALL guest computers will require FileMaker Pro 13 software.
If you have already upgraded to Version 7 and wish to transfer your data to the most current version of the Studio Organizer 7, do not follow these instructions. Click Here for Updating Instructions.
Begin Upgrading
Step 1
Open the version of the Studio Organizer 5 you are currently using with the Master account name and password.
Step 2
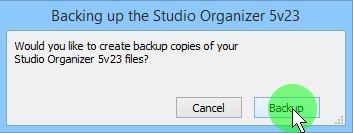
From the Main Menu, go to the Wizards menu at the top of the screen, and select Backup Snapshot.
Step 3
Single click the Backup button.
Step 4
Quit the Studio Organizer 5. If asked to backup, click Cancel.
Do not complete the following steps if you have not created a current backup of your data files.
Step 5
Windows Users
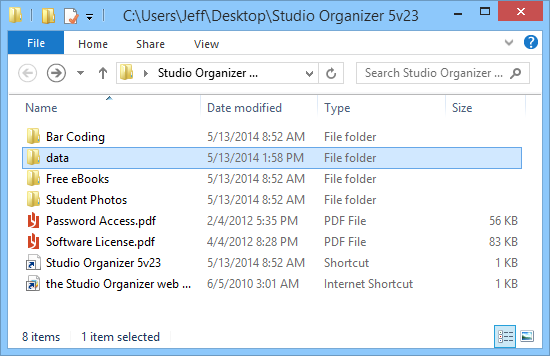
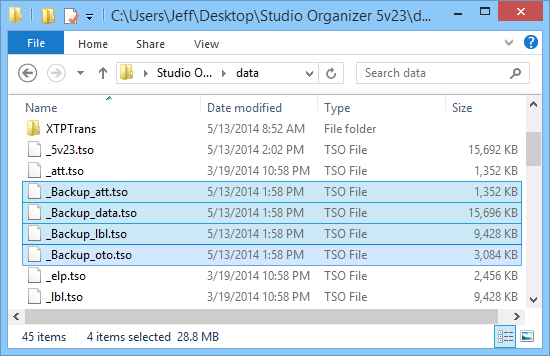
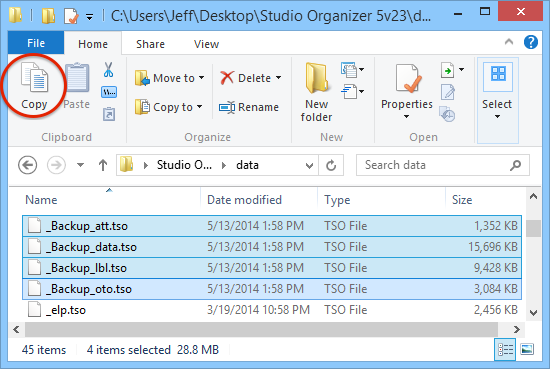
Open the Studio Organizer 5 folder on your Desktop, then open the Data folder and locate the four backup files.
The backup files are named:
_Backup_att.tso, _Backup_lbl.tso, _Backup_data.tso, _Backup_oto.tso.
Macintosh Users
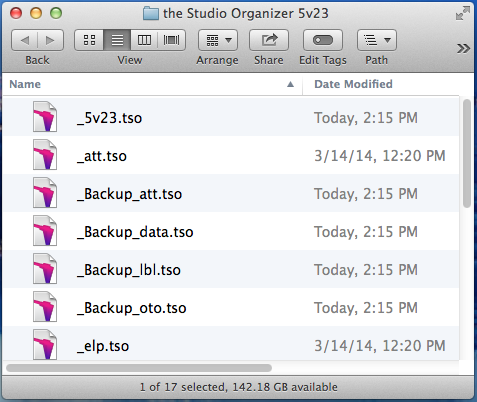
Open the Studio Organizer 5 folder and locate the four backup files.
The backup files are named:
_Backup_att.tso, _Backup_lbl.tso, _Backup_data.tso, _Backup_oto.tso.
Step 6
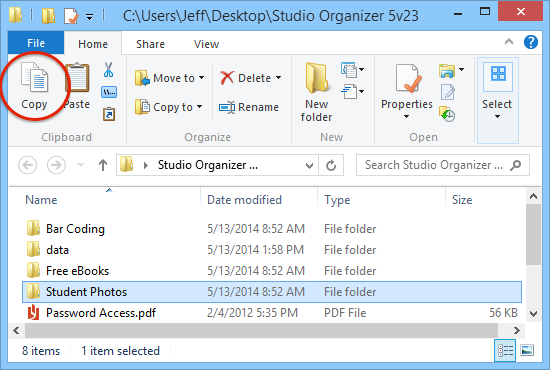
Select and copy the four backup files by selecting all four files then selecting Copy from the Edit menu, or the Home menu if using Windows 8 (shown below.)
Windows Users: Close the Data folder.
Step 7
Create a new folder on the Desktop with this exact name: Old Solution Files
Step 8
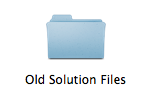
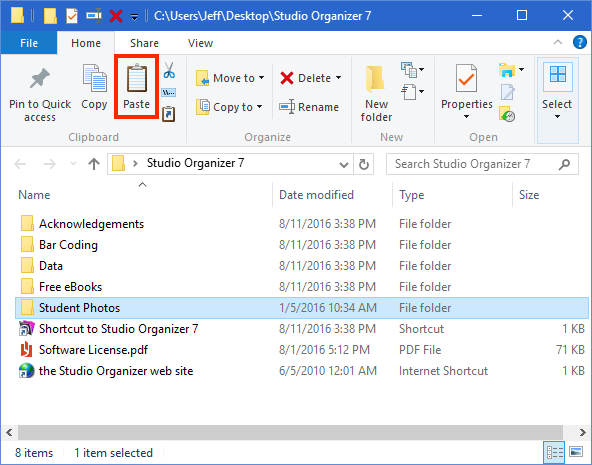
Open the Old Solution Files folder you just created on the Desktop then select Paste from the Edit menu, or the Home menu if using Windows 8 (shown below.)
This will place copies of your backup files inside the folder you've just created.
Step 9
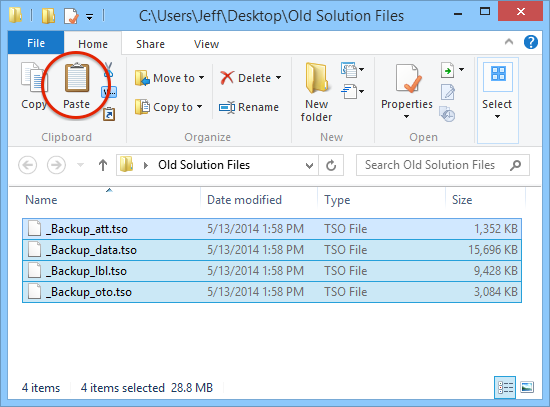
Open the Studio Organizer 5 folder on your Desktop and locate the Student Photos folder.
Step 10
Copy the Student Photos folder by selecting it, then selecting Copy from the Edit menu, or the Home menu if using Windows 8 (shown below.)
Step 11
Close the Studio Organizer 5 folders and make no additional changes.
Version 5 Remains 100% Intact
We're all done with Version 5. Your Studio Organizer 5 folder is going to remain 100% intact.
No data will be deleted from these files. You can continue to use Version 5 as long as you wish.
Finish Upgrading
Step 12
Download the Studio Organizer 7 by clicking a link below. (Please delete any old Studio Organizer 7 folders before downloading.)
Step 13
Install the Studio Organizer 7. When installation is complete, you'll have a Studio Organizer 7 folder on your Desktop.
Do not launch the software at this time.
Step 14
Since you've copied the Student Photos folder in Step 10, let's now paste your Student Photos folder into the new Studio Organizer 7 folder.
To do this, open the Studio Organizer 7 folder then select Paste from the Edit menu, or the Home menu if using Windows 8 (shown below.)
Step 15
Windows Users
Open the Data folder and drag the Old Solution Files folder from the Desktop into the Data folder.
Use caution when you drag the folder don't drop it inside another folder.
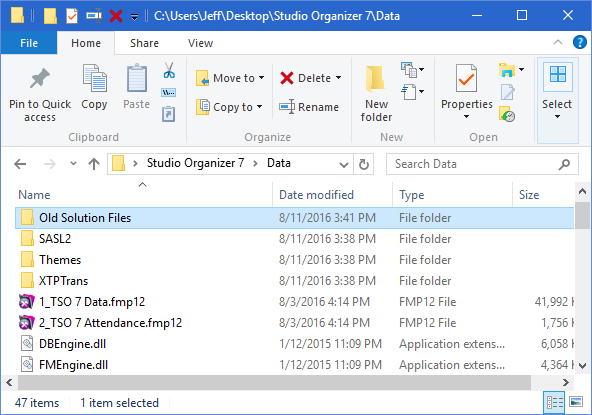
Please verify the Old Solution Files folder is inside the Data folder which is inside the Studio Organizer 7 folder.
It cannot be placed in the Studio Organizer 7 folder, it must be inside the Data folder.
Macintosh Users
Drag the Old Solution Files folder from the Desktop into the Studio Organizer 7 folder.
Use caution when you drag the folder; don't drop it inside another folder.
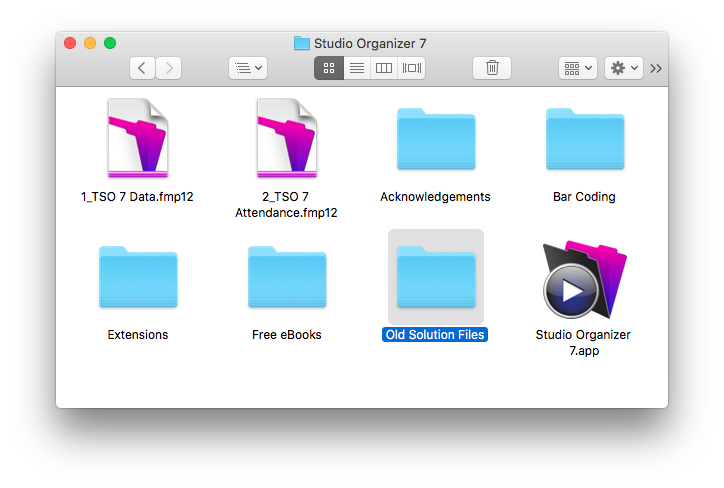
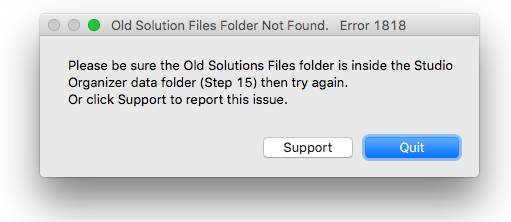
Verify the Old Solution Files folder has the correct name and is in the correct location, otherwise you will receive Error 1818 when performing Step 19 below.
Be sure the Old Solution Files folder only contains the four backup files before proceeding. If so, your data is now ready to be transferred.
Step 16
Launch the Studio Organizer Version 7 by double clicking the Studio Organizer 7 icon or alias.
No password is required to open the software.
Step 17
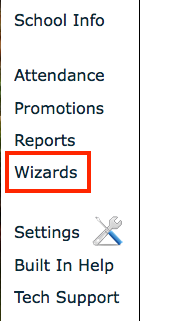
Single click the Wizards button on the bottom left corner.
Step 18
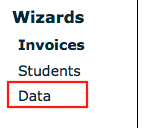
Single click the Data button.
Step 19
Single click the Finish Upgrade from Studio Organizer 5 button. It's in the lower right corner of the screen.
(Version 7v02 or higher required.)
Click Upgrade in the dialog box that appears.
Optional
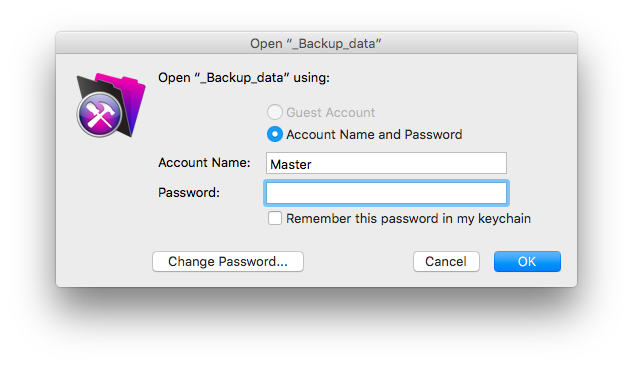
If a password dialog box appears, enter the Version 5 Master account name and password.
Your data is now being converted.
After the conversion has been completed log in using the Version 5 Master account name and password.
Go to Step 15 above and place the Old Solution Files folder is in the correct location.
If you receive an error 100 "File not found" message, this means steps 9 through 15 above were not followed and the Old Solution Files folder is not in the correct location.
This can take several minutes depending on your computer. All of your data is being converted to the new format. Do not cancel, even if there are long periods of inactivity or you see "not responding" messages. Otherwise you'll have to start again. After the conversion is completed if any errors were discovered a message will be displayed. Please be SURE to click the Submit button to send this information to Technical Support. (Only an internet connection is required to use the Support feature of Version 6.)
Four "File Format Conversion" progress bars will appear. Each is followed by a long delay where only a flashing cursor is displayed. This is normal.
If you run into trouble while upgrading, we'll be happy to help. Please click the Tech Support button in Version 7 and use the Support Wizard to submit your request for help.
Please be sure to include:
The exact number of the Step in the above instructions you're performing
The exact error message or undesired result
Screenshots of error messages
Any revenant information about your computer or recent changes
Data Transfer Complete
Step 20
Review Password Access and Settings
Since so much has changed you'll want to be sure your users have the correct password access and tweak your Settings.
To review your Settings, click the Settings button in the bottom left corner of the screen. Review each screen and make the selections that are appropriate.
All passwords have been reset to the default Admin or Staff screen viewing options. To review password access, click the School button then click on Passwords. Use the arrow buttons to review each password to be sure it has the correct access. It may be necessary to delete and re-create a staff members passwords record.
Free Trial Mode
You can now begin to use the Studio Organizer 7 as a free trial user. If you'd like to register Version 7 now and remove the trial mode, follow the instructions below to create your Registration Code.
In Step 21 below you'll create your Registration Code and Master password.
What's New?
Since you're upgrading from Version 5 to Version 7 you'll find significant changes. First take a look at the New Features in Version 6 webpage, then read the New Features in Version 7 page.
Feel free to experiment with Version 7 as much as you like, but continue to use Version 5 for real world use until you feel comfortable about making the switch. Remember, Version 5 is still on your computer and it's been left completely intact.
Spend some time with the software and learn where the new settings are and just play it. You don't want to try to figure out what's new and what's changed when you have a line of students waiting to check in. So take your time with the transition.
When you're ready to make the switch to Version 7 follow these instructions again to convert your most recent Version 5 data. Be sure to delete the Version 7 folder before doing so.
Step 21
Registering Version 7
Version 5 users with an expired Registration Code can upgrade for $50. Click here to renew.
After you've converted your data into Version 7 you can register the software by going to the Student Info or School Info screens and clicking the Purchase button. You'll create your Registration Code and Master password. An internet connection is required.
Your Registration Code email will be sent within one business day and the software will be temporarily registered so you can get started right away. You'll also receive a reminder email containing the Master password you created when you registered the software.
Registration Pending
After completing the registration screens and logging into the software with your Master password, the software will display "Registration Pending" and you'll have complete access. Please do not submit your registration information again.
In one business day you will receive a Registration Code email with instructions for registering the software.
Learning Version 7
The instructional videos for Version 7 have not been completed yet, however Version 6 has training videos. For starters, please watch these three videos on You Tube:
Overview • the Basics • Getting Started
These videos will give you a good start and help you understand how the software was designed to be used.
The New Features page is helpful as well.
Transferring Data
You can move your data to a second computer if you wish. This is a free feature many school owners use to move their data from school to home and back again. Or to a new computer.
The instructions for doing this have been greatly simplified in Version 7.
Kick the Tires
Spend some time with Version 7. Take a look at your imported data. Click through the new screens. Try the new pick lists. Browse the Help articles to learn how the new features work.
Click the Help button any time you have a question.
After you've experimented with Version 7 and you're ready to make the switch DELETE the Studio Organizer 7 folder you experimented with. You'll then transfer your data from Version 5 that's you've continued to use for real world data into the most current version of the Studio Organizer 7.
That means you'll simple delete your trial Studio Organizer 7 and follow these instructions again.
If you run into trouble while updating, we'll be happy to help. Please click the Tech Support button and use the Support Wizard to submit your request for help.
Please be sure to include:
The exact number of the Step in the above instructions you're performing
The exact error message or undesired result
Screen snapshots of error messages
Any revenant information about your computer or recent changes
No email software is required to send questions. Messages are now sent automatically from the Studio Organizer. An internet connection is required.