Updating the Studio Organizer 7

REGISTERED USERS ONLY

Do not follow these instructions if you are currently using Version 5 or 6 and wish to convert your data to the Studio Organizer 7.

Click here for Upgrading from Version 6 Instructions 


Updating the Studio Organizer 7 is different than other software products. Your data is never deleted or lost when you perform the updating steps described below. Please read these instructions carefully for a trouble free updating experience.

Installing previous updates is not required. Each update contains all the improvements and bug fixes added to earlier updates.


Always Install Updates

Software updates include more than just bug fixes. New features are added, the documentation is approved and existing features might receive minor changes to improve usability. Always install the updates when they become available.

Failure to do so will result in known bugs remaining in your software and you'll miss out on new features and improvements.


Backup to a USB Flash Drive

Before you begin, please backup your files to a USB flash drive. To do this go to the Wizards menu at the top of the screen and select Backup Snapshot. Click the button to also create a backup folder on the Desktop. After the backup is complete, copy the new backup folder to a USB flash drive and eject it from your computer.

You'll want to do this each evening before you leave the school. Give yourself peace of mind by having a current backup in your pocket every day.


the Studio Organizer 7 folder must be on the Desktop
The Updating procedure requires your Studio Organizer 7 folder to be on the Desktop. This is the default installation location. Sometimes users will moved the Studio Organizer 7 to a different location, or place it inside a different folder on the Desktop. If the Studio Organizer 7 folder is not directly on your Desktop please follow these updating instructions instead.

Perform these instructions only on the Primary computer that was used to create your Registration Code.

If you've used the Transferring Data Wizard to move your data to a different computer, transfer your data back to your Primary computer before completing these steps. 


Network Users

Updates must be installed on the server only. Nothing needs to installed on your guest computers after updating, but please be SURE to test the update on ALL guest computers on your network immediately after updating.

If networking is not working: open the software on the server with your Master password (other passwords cannot be used) then go to File the menu, select Sharing -> Share with FileMaker Clients... and verify networking is turned on and all files are available to all users. Turn file sharing off then on again and restart your computer.

Port 5003
Port 5003 is used by FileMaker Pro to send network traffic. Please be sure this port is open in router and computer firewall's.

Begin Updating

Step 1

Verify the Studio Organizer 7 folder is on your Desktop. It should not be inside any other folders. If you've moved the Studio Organizer 7 folder to a different location please follow these updating instructions instead.

Open the Studio Organizer 7 with an Admin level password.

If you're networking, do this on the server with no guests connected.

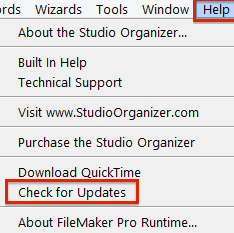
The software may automatically display a message, or you can check for updates by selecting Check for Updates from the Help menu at the top of the computer screen.

Check for Updates

Or go the Wizards screen then view the Data screen and click the Check for Updates button.


Do not follow these instructions if you are currently using Version 5 or 6 and wish to convert your data to Version 7.

Click here for Upgrading from Version 6 Instructions 

Step 2

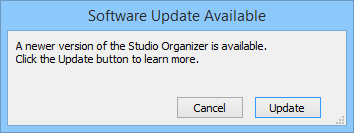
If a Software Update Available message appears click Update.

Update Available

Step 3

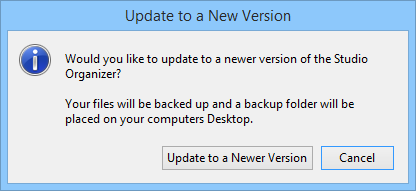
Click Update to a Newer Version.

Step 4

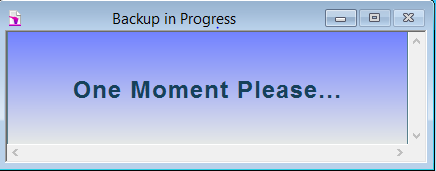
The software will begin backing up. This may take a moment.

One Moment Please

Step 5

After backing up has been completed, click Quit and Download.

Download Update

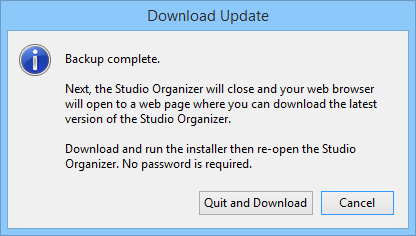
This will close the software and open your web browser to a special download web page.

Finish Updating


IMPORTANT!
Do not complete the following steps if you have not created a current backup of your data files.

Step 6

On the Update web page that's opened, click the icon to begin downloading the Studio Organizer update files.

The installer you'll download is much smaller than the complete Studio Organizer package. It only contains the update files.

Step 7

After the download is complete, double click the installer and follow the prompts to install the updated files.

If you run the installer and receive this error message:


BackupMissing7


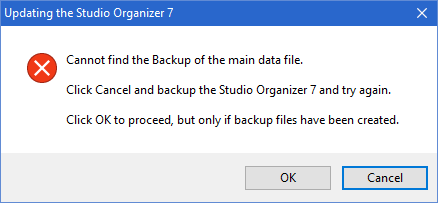
Click Cancel and exit the installer, then follow these instructions starting at Step 6.

Step 8

After the update files have been installed open the Studio Organizer 7 as you normally do. No password is required.

Macintosh Users

If you see a dialog box stating the Primary file is not part of this application. Click here to download the new Macintosh application. Uncompress the file and move it to the Studio Organizer 7 folder, overwriting the old file.


A Finish Updating to Version 7 dialog box will appear. Click Finish.


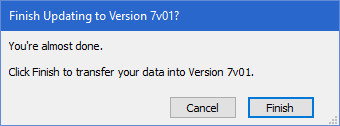
The Updating Wizard does all the work and will let you know when your data has been successfully transferred.

All of your data and photos will transfer. Nothing is lost.

After updating is complete you'll be asked to log into the software. Use your regular password.

The new version of the Studio Organizer 7 will open.


What's New?

To see what's new, please read the Version History.

Need Help?

If you run into trouble while updating, we'll be happy to help. Please click the Tech Support button and use the Support Wizard to submit your request for help.

Please be sure to include:
The exact number of the Step in the above instructions you're performing
The exact error message or undesired result
Screen snapshots of error messages
Any revenant information about your computer or recent changes